Ableton Automation Hacks YOU NEED TO KNOW!
Credit: @Zdrewe
Why Automations Matter
Key idea:Automations are the most powerful tool to bring life to your tracks, even more important than fancy plugins, sample packs, or music theory.Process / settings:The fundamental difference between mid-sounding tracks and professional ones often comes down to movement and variation through automation.Result:Understanding automation hacks makes the process faster and more intuitive, allowing you to focus on creativity rather than tedious editing.Notes:This tutorial uses Ableton Live 12 but the tricks work with older versions as well.
00:00 → 00:40

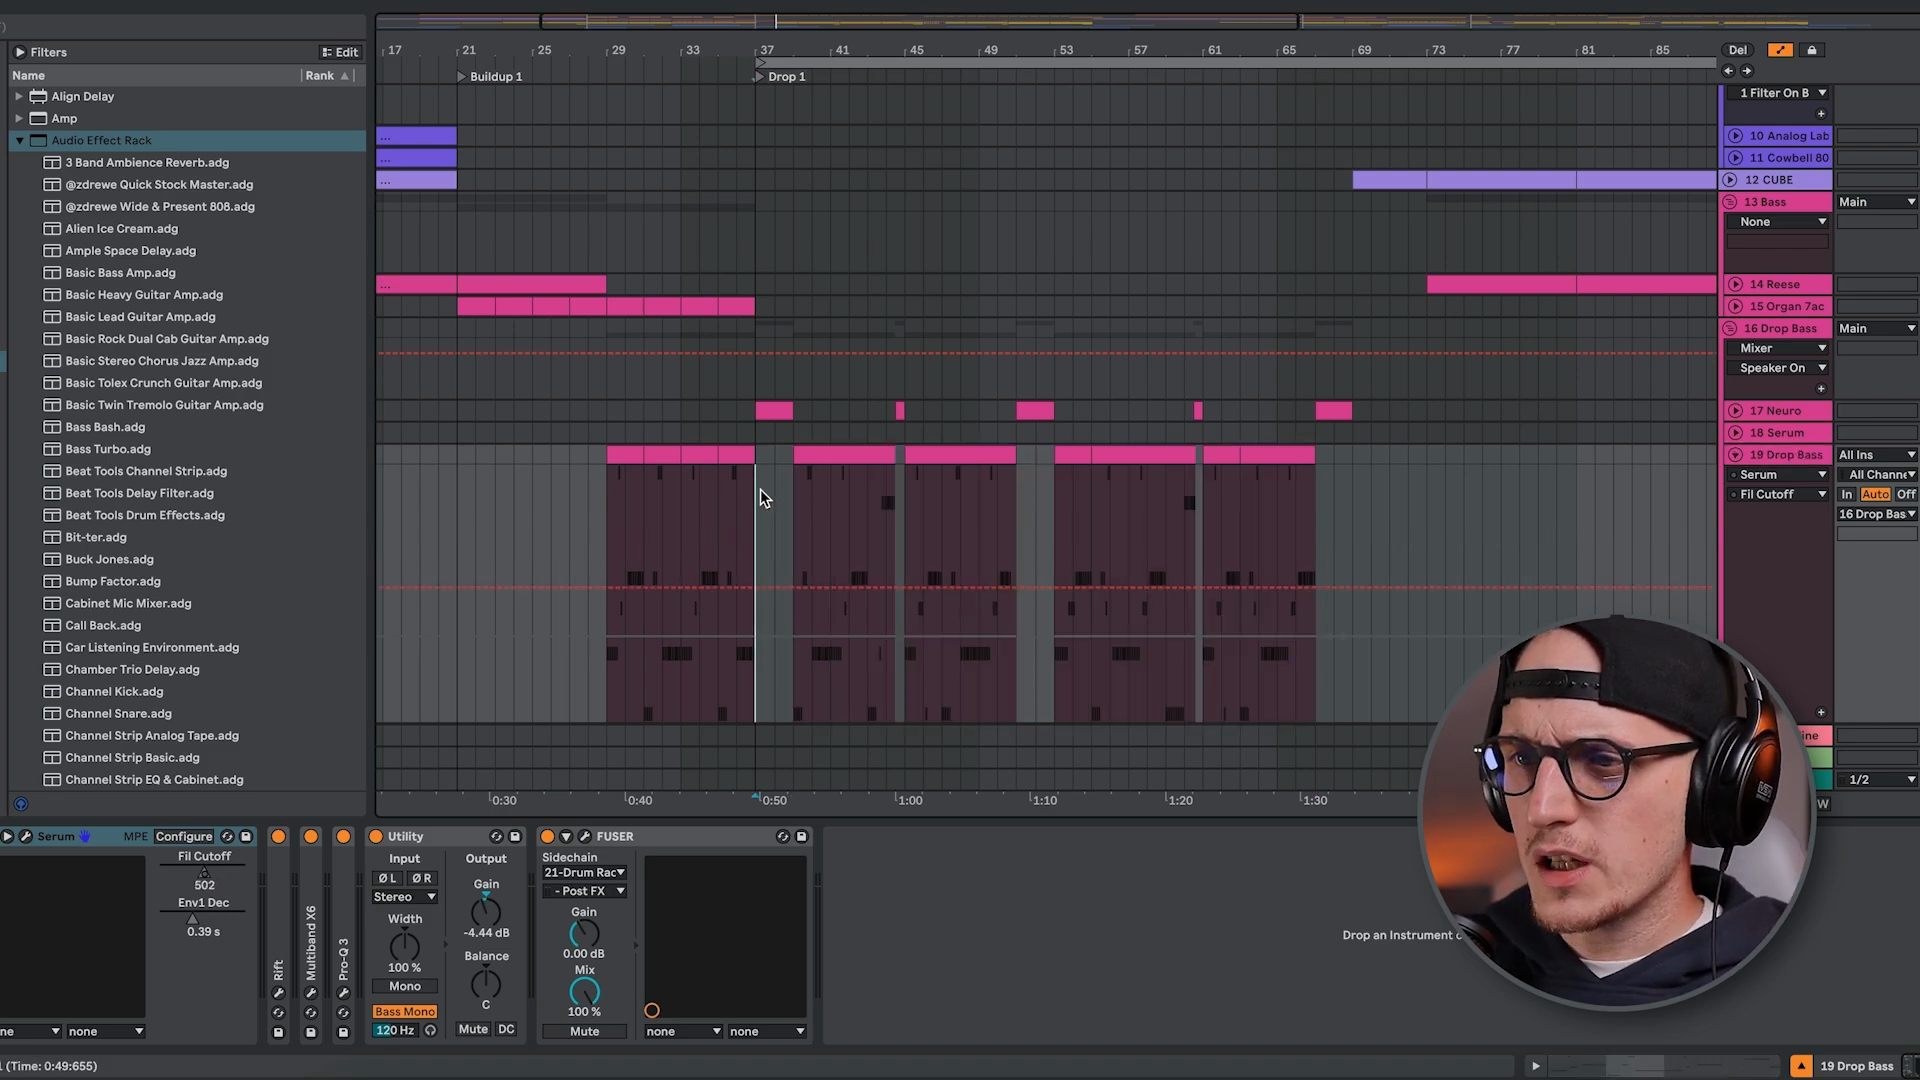
Accessing Automations Basics
Key idea:PressAon your keyboard to access automation view in Ableton Live.Process / settings:Touch any parameter you want to automate (like filter cutoff in Serum) and it will appear in the automation lane. Create points by clicking, and draw your automation curve.Result:Basic automation is created by writing points and adjusting curves manually.Notes:While this is the basic method, there are much faster ways to work with automations.
00:40 → 01:20

Insert Shape Hack
Key idea:Quickly create automation shapes without drawing individual points.Process / settings:Highlight the part you want to automate, right-click, and choose "Insert [shape]" from the menu.Result:Instant automation shapes that save significant time compared to manual point drawing.Notes:This is essential for speed-running your production workflow.
01:20 → 01:45

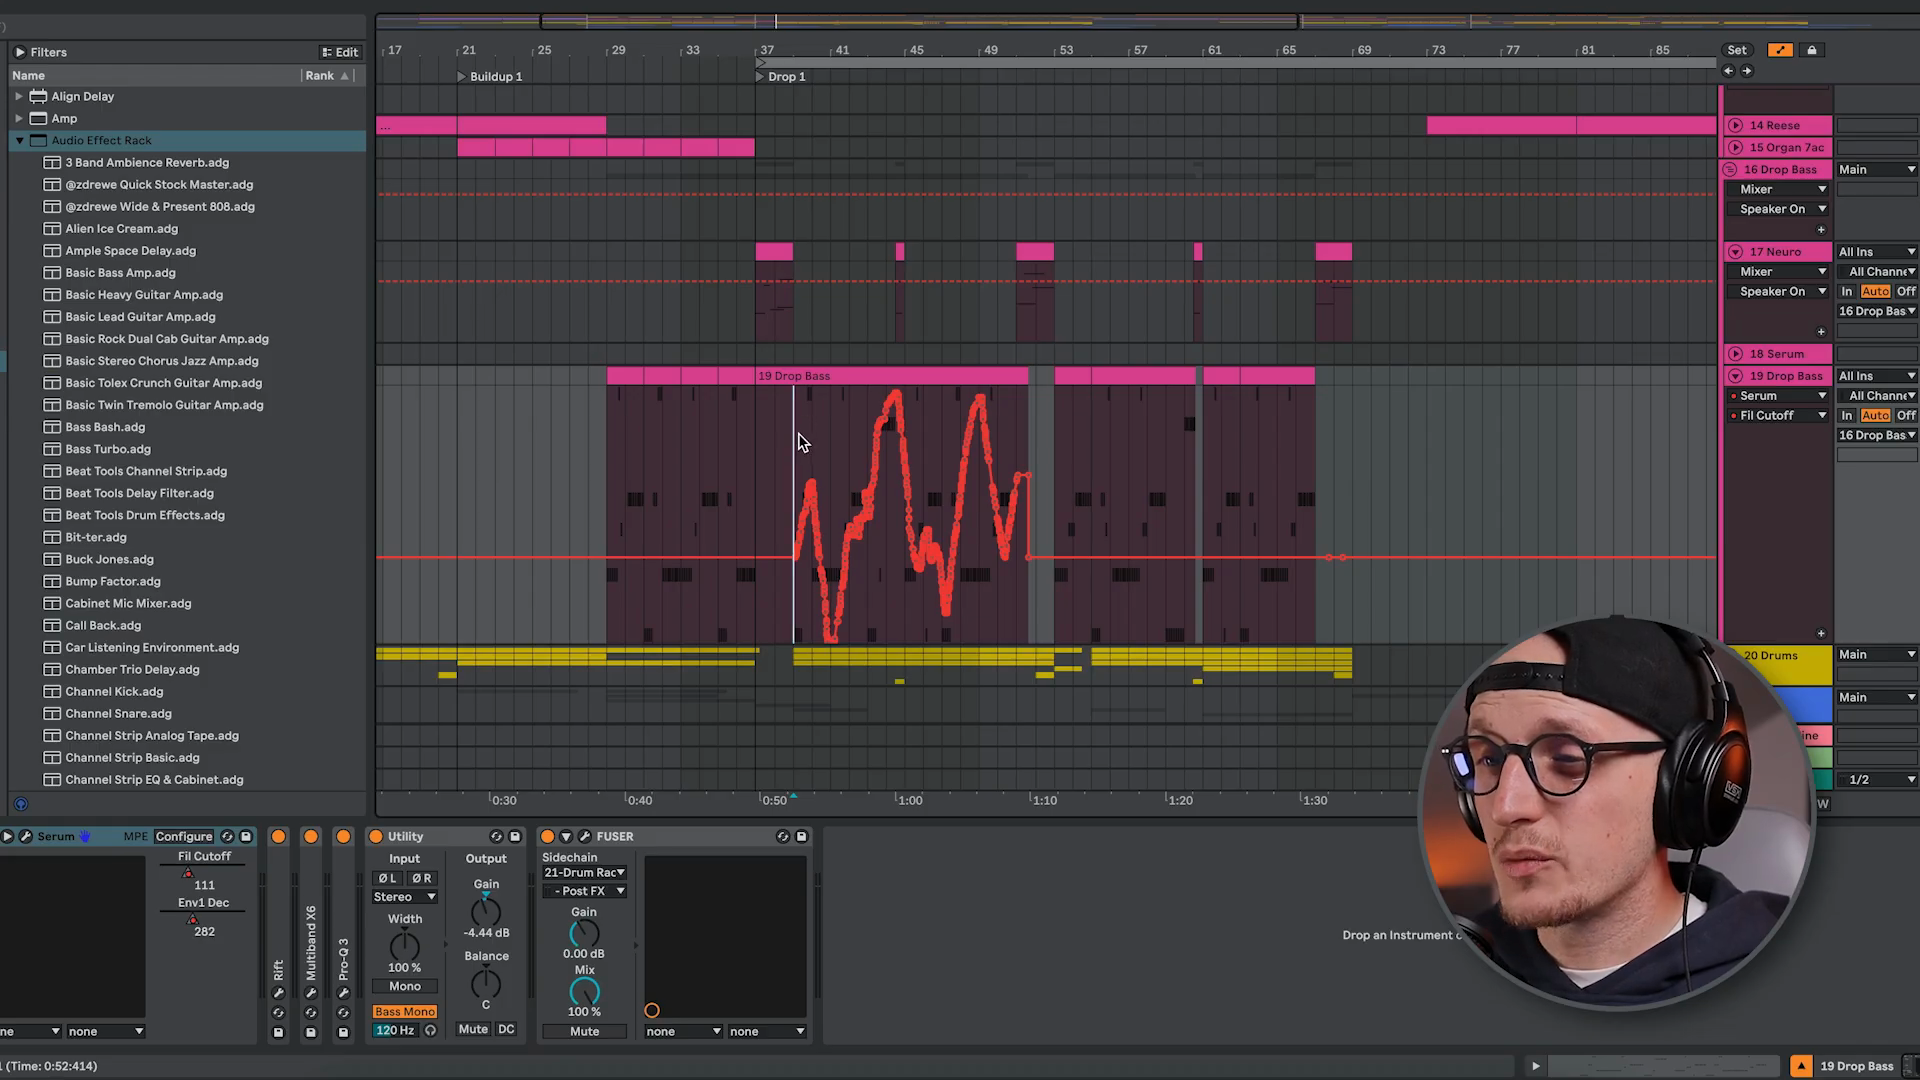
Adjustment Squares
Key idea:Use the squares that appear when hovering over automation selections to quickly adjust parameters.Process / settings:Hover over your automation selection to reveal squares. Drag them to make the automation longer/shorter, or adjust the intensity (more/less automated).Result:Fast, visual adjustment of automation length and range without manually moving individual points.Notes:This dramatically speeds up tweaking existing automations.
01:45 → 02:05
Automating Frequency & Millisecond Parameters
Key idea:Frequency and millisecond parameters are painful to automate manually because small movements can create huge value changes.Process / settings:The creator demonstrates automating Shaper Box's rate parameter (switching from tempo sync to Hz/ms). Moving the automation curve slightly can jump from one extreme value to another, making precise editing nearly impossible without zooming in extensively.Result:Traditional automation methods become extremely tedious for these parameter types.Notes:This sets up the need for the Edit Value hack in the next section.
02:05 → 03:40
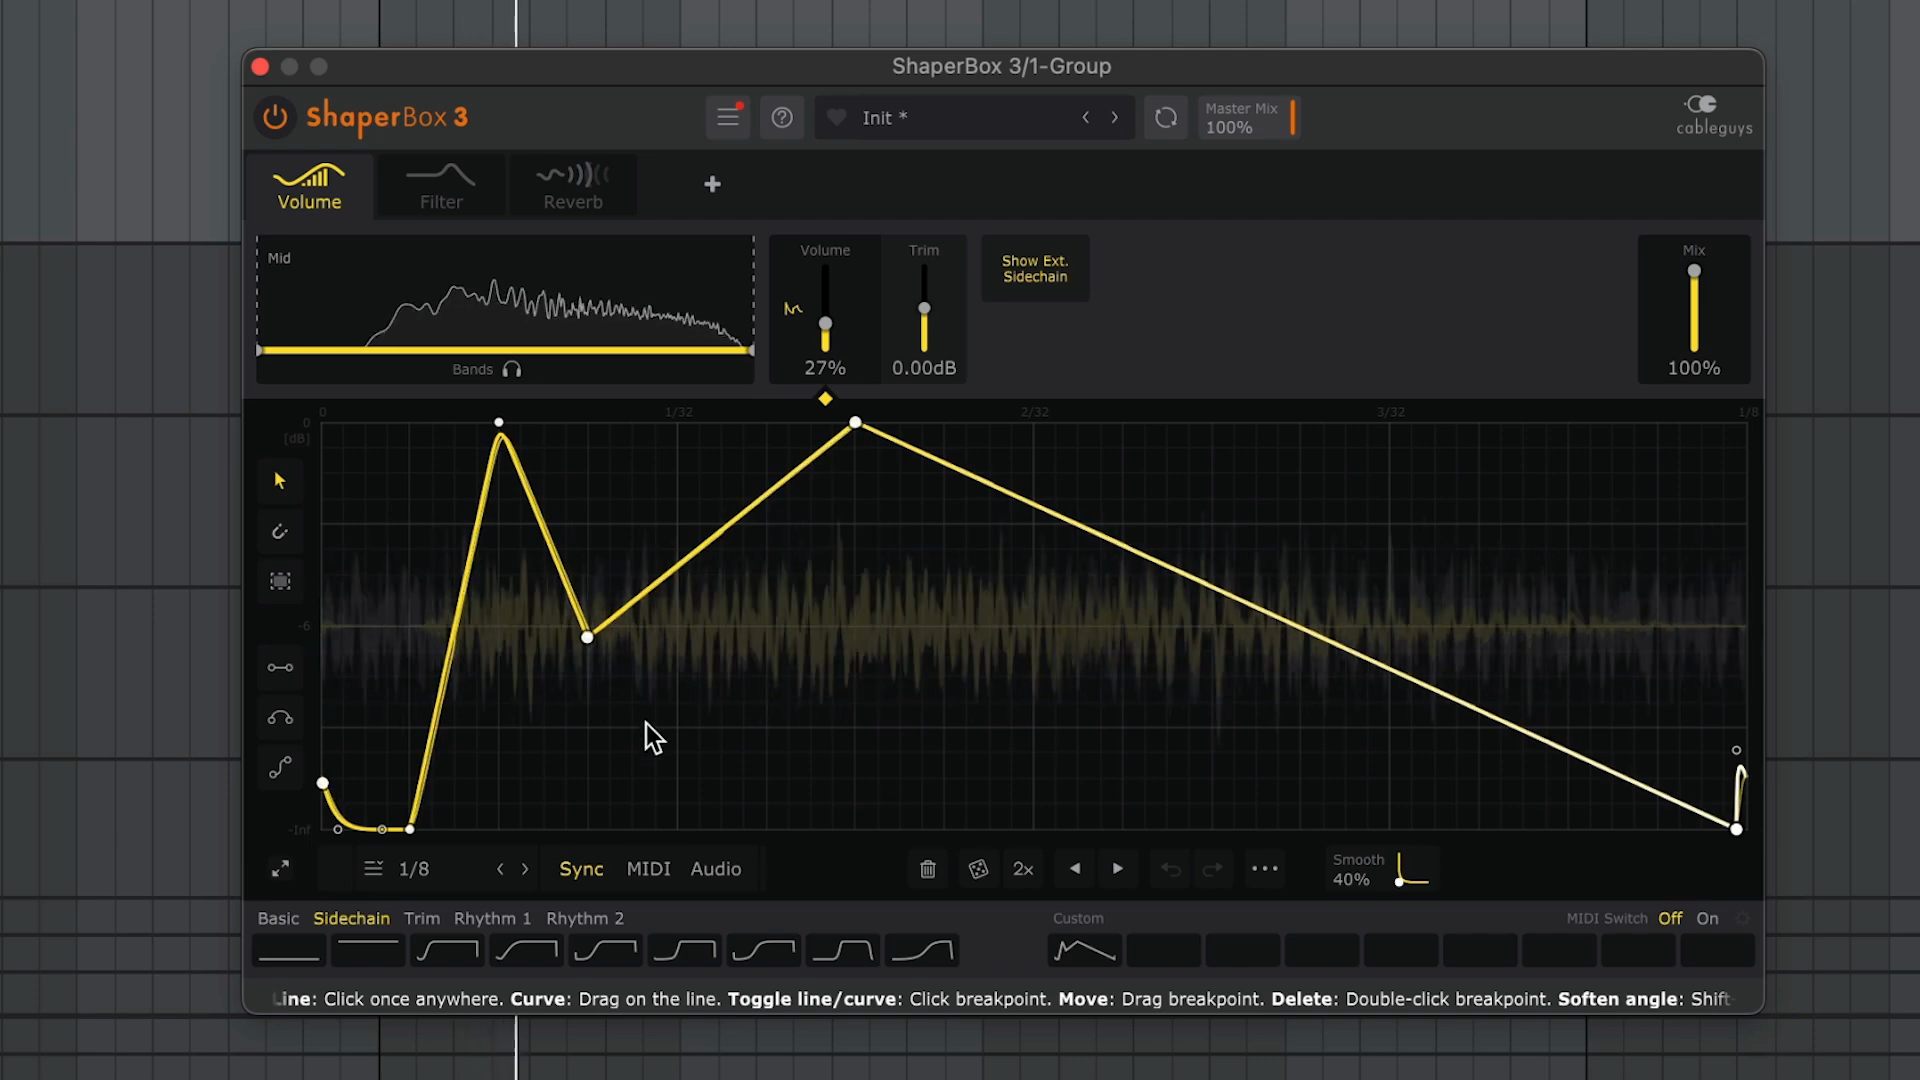
Edit Value Hack
Key idea:Right-click automation points and type exact values instead of trying to visually adjust them.Process / settings:Right-click on an automation point, select "Edit Value", and type the precise number you want (e.g., "40" or "43").Result:Pinpoint accuracy without zooming in like "grandma on her phone" to manually adjust tiny movements.Notes:This is a game-changer for frequency, millisecond, and any other wide-range parameters.
03:40 → 04:15
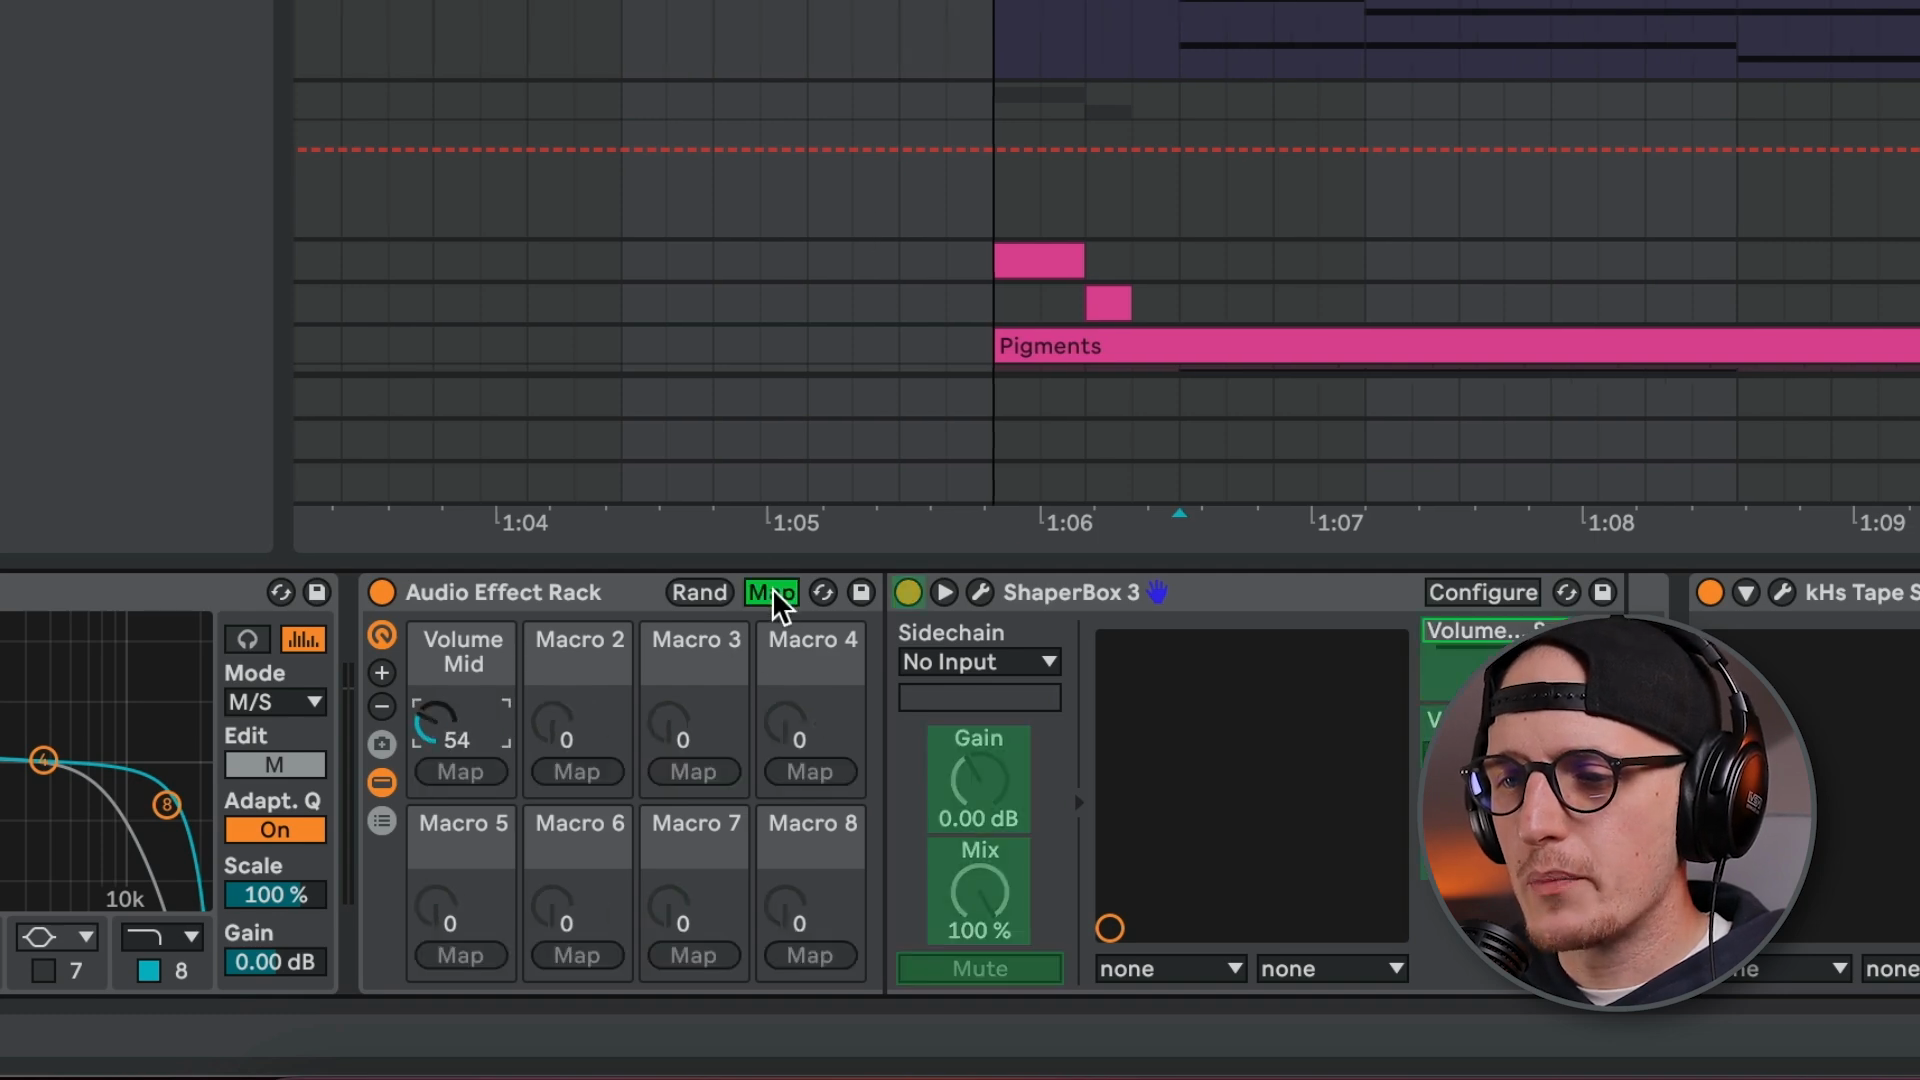
Macro Mapping for Safe Automation Ranges
Key idea:Map parameters to macros with defined min/max values to prevent automation from going outside desired ranges.Process / settings:Group the plugin (Cmd+Gon Mac,Ctrl+Gon Windows). Right-click the parameter and map it to Macro 1. Go to the Map menu and set minimum and maximum values for the range you want. Now automate the macro instead of the original parameter.Result:Your automation will never exceed the boundaries you set, making it safer and easier to work with wide-range parameters.Notes:This creates a "guardrail" for your automations, especially useful for complex modulation.
04:15 → 05:20
Copy Automation to Multiple Lanes
Key idea:Reuse automation curves across different parameters instantly.Process / settings:Click the+icon to add another automation lane. Highlight your existing automation, copy it (Cmd+C/Ctrl+C), and paste it (Cmd+V/Ctrl+V) to the new lane.Result:Apply the same automation shape to multiple parameters (like filter cutoff and resonance) without recreating curves.Notes:This works with every plugin, lane, and knob in Ableton Live. Huge time saver for creating cohesive modulation.
05:20 → 06:00
Recording Automation with MIDI Controllers
Key idea:Record automation in real-time using MIDI controllers or knobs, but avoid overwriting your MIDI notes.Process / settings:Basic recording mode overwrites MIDI data when you record automation. To prevent this, press the+button in the recording section. This allows you to record different takes and automation passes without destroying existing MIDI.Result:Record expressive, human automation performances while preserving your MIDI patterns.Notes:Essential for live performers and anyone who prefers tactile automation over mouse drawing.
06:00 → 06:50
Simplify Envelope
Key idea:Clean up messy automation with too many points by simplifying the envelope.Process / settings:After recording automation (which creates tons of points), highlight the section you want to clean up. Right-click and choose "Simplify Envelope".Result:Reduces the number of automation points while maintaining the overall shape, making it much easier to edit afterward.Notes:Recorded automation from controllers can be extremely dense and tedious to adjust point-by-point without this feature.
06:50 → 07:20

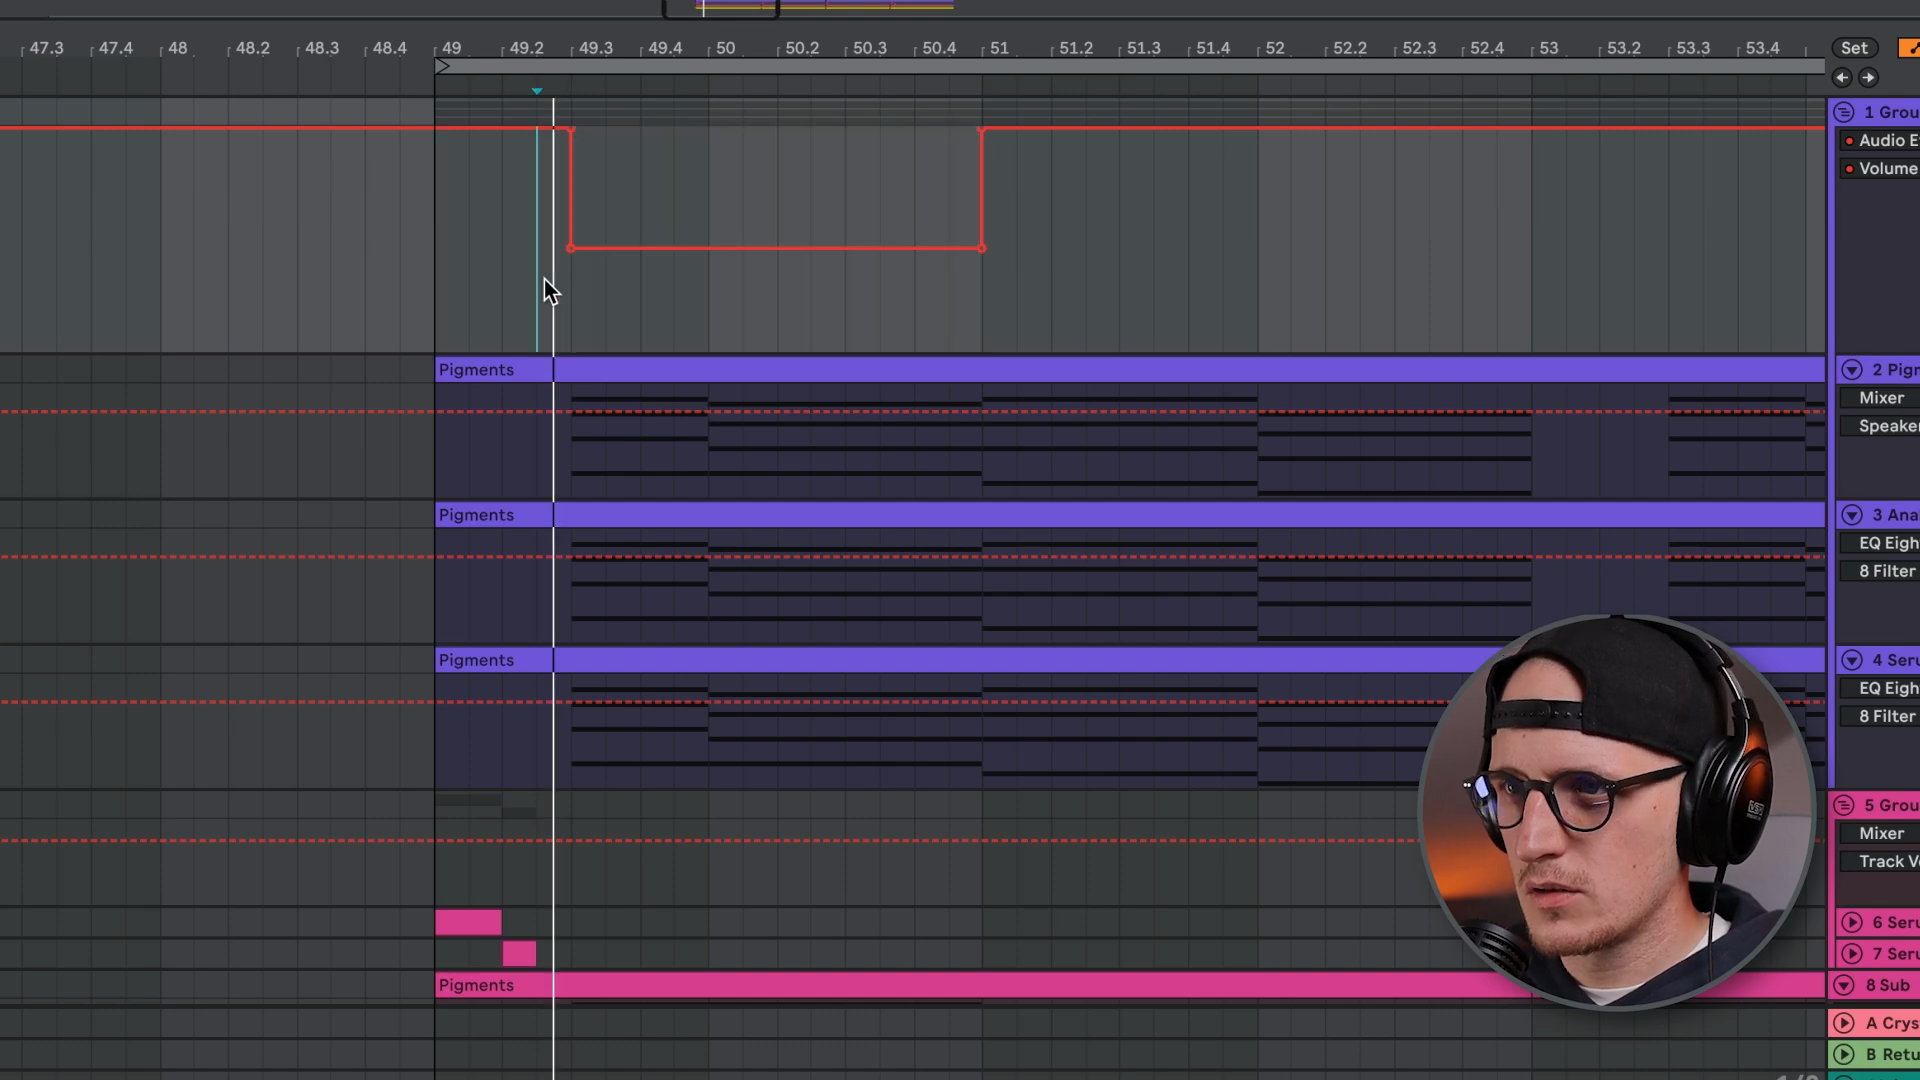
Automation Beyond Arrangement View
Key idea:All these techniques work in MIDI clips, audio clips, and MPE envelopes, not just Arrangement view.Process / settings:You can apply insert shapes, copy/paste, simplify envelope, and all other automation hacks to clip envelopes in Session view.Result:Complete flexibility to automate anywhere in your Ableton workflow.Notes:Particularly useful for MPE envelopes for pitch bends and 808 glides. The creator references another video on 808 glides using MPE.
07:20 → 07:45